Not all data can be manually entered in a text format or even generated on a remote machine. You will almost certainly wish to transfer data to MARCC. There are many ways to transfer files to a remote machine. In this section we will explain the use of secure copy (scp) and in the next section we will describe Globus.
Secure copy
In the login section we used ssh to dial into a remote machine from our local machine. In this section we will use scp in much the same way, to copy files to Blue Crab and then remove different files.
Start by creating a text file with some useful information on your local machine using whichever method you prefer. If you have vi, you can use your new skills. Call the file input_parameters.txt.
From the terminal on your local machine, run the following command to transfer the file to your home directory. Replace the username with yours.
$ scp input_parameters.txt me@jhu.edu@login.marcc.jhu.edu:~/
Let’s break this down. Like a regular copy (cp) command, the scp command takes two arguments, a source followed by the destination. The source must be in the current working directory on the local machine. The destination in this case includes the colon (:) character which tells scp to use the ssh protocol to send the file securely. The left side of the : operator is the username and address of the machine, separated with the @ sign (the second one, since the first is part of your usename). The right side of the : operator is the path to the destination file. We could have just as easily written either of the following commands.
$ scp input_parameters.txt me@jhu.edu@login.marcc.jhu.edu:/home-net/home-4/rbradle8@jhu.edu/
$ scp input_parameters.txt me@jhu.edu@login.marcc.jhu.edu:~/input_parameters.txt
$ scp input_parameters.txt me@jhu.edu@login.marcc.jhu.edu:~/input_parameters_project_A.txt
$ scp input_parameters.txt me@jhu.edu@login.marcc.jhu.edu:~/folder/that/does/not/exist/
In the examples above I have used the “real” path to my home directory and an explicit file name. In the final command I have renamed the file. The fourth example above will fail because that folder does not exist on the remote machine.
Multiplexed logins
It is tiresome to enter your 2FA credentials every time you wish to upload a file. Let us now use a multiplexed connection to share a single ssh connection with many shells and transfers.
The information for multiplexing is found in a hidden folder in the home directory of your local machine called ~/.ssh (folders prefixed with a dot . are hidden). Run ls ~/.ssh to see if it exists
If the ~/.ssh folder is not in your home directory, run these commands:
$ mkdir ~/.ssh
$ touch ~/.ssh/config
$ chmod 700 ~/.ssh
$ chmod 644 ~/.ssh
The permissions are carefully protected. Now, edit the file and include the following text, with your username substituted below:
Host marcc
  HostName login.marcc.jhu.edu
  User me@jhu.edu
  ControlMaster auto
  ControlPath ~/.ssh/control:%h:%p:%r
  ForwardX11 yes
  ForwardX11Trusted yes
After making this change, you should close any remote connections with exit and then connect again. This time, you can use the much simpler command: ssh marcc. You can run this command more than once to share the same connection. Future invocations of scp will not require 2FA or a password, though they are still secure.
Transferring folders
On your local machine, make a directory, and populate it with some files.
$ mkdir my_source_data
$ touch my_source_data/inputs_a.txt
$ touch my_source_data/inputs_a.txt
To transfer the files to Blue Crab we need to use two extra flags. The recursive flag allows us to upload a directory, while the preserve flag ensures that the time stamps do not change. If you did not set up multiplexing above, use the full username and hostname (me@jhu.edu@login.marcc.jhu.edu).
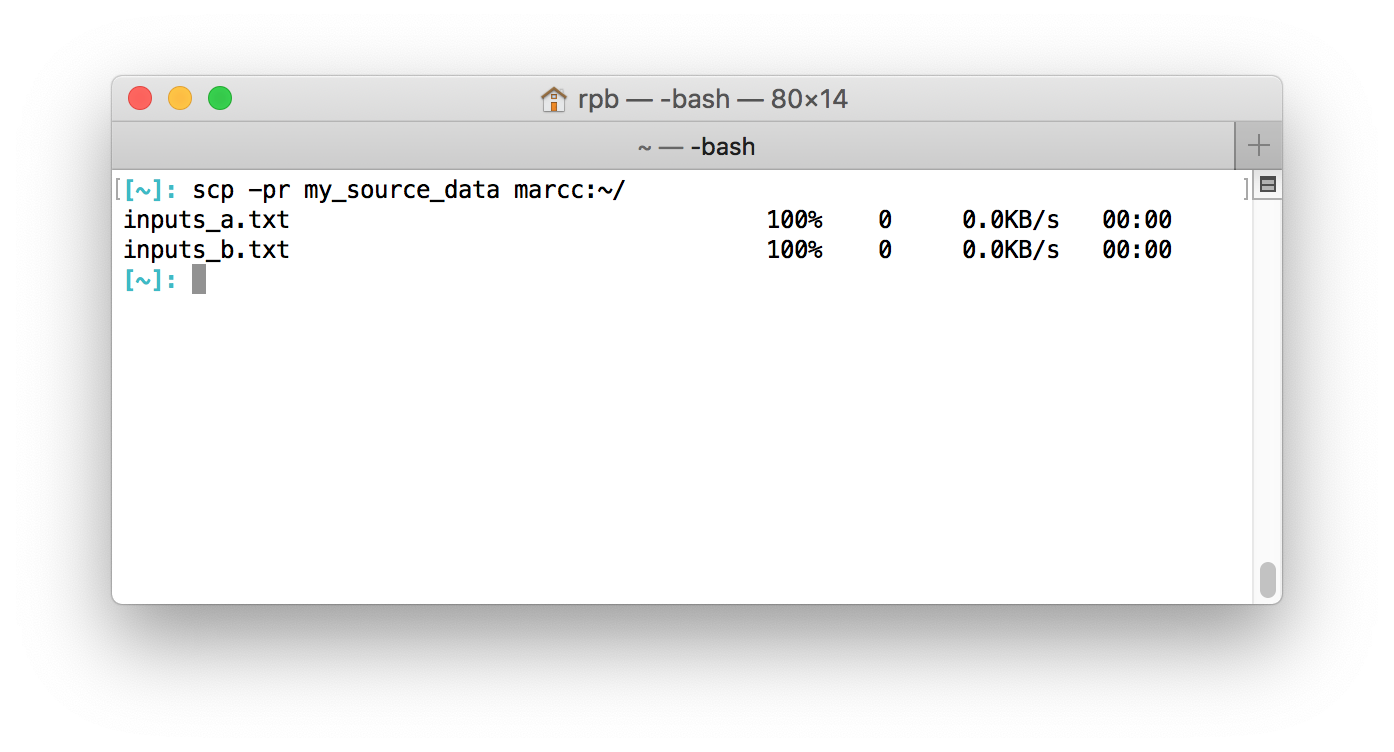
$ scp -pr my_source_data marcc:~/
The transfer looks like this:
Rsync
You may also wish to use the rsync program in place of scp because it offers a number of advantages, namely faster and non-redundant transfers. You can recursively copy a directory, with a progress indicator, and preserved timestamps, using the following command.
$ rsync -arivP source host:~/path/to/destination
The rsync command also allows a “dry run” with the -n flag to see which parts of the data need to be transferred, in the event that some of the data already exists on the remote machine.
Recursion rules
When using cp, scp, or rsync, a source folder is copied into the destination folder. This can be somewhat confusing. The best way to understand the rule is to imagine that directories have an invisible / suffix. The following commands are therefore equivalent if the folder already exists on the remote machine.
$ scp -pr my_source_data marcc:~/my_source_data
$ scp -pr my_source_data marcc:~/my_source_data/
If the folder is absent, the first command will have the desired effect but could just as easily use ~/ as the destination. However if the folder is present, then the two commands above are no longer equivalent, and you will have a my_source_data/my_source_data folder.
This principle can be illustrated with a simple set of copy commands:
$ mkdir a
$ mkdir b
$ touch a/1
$ touch a/2
$ cp -av a b
‘a’ -> ‘b/a’
‘a/1’ -> ‘b/a/1’
‘a/2’ -> ‘b/a/2’
You can avoid this error by using an explicit / suffix at the end of all directories.
rsync -arivP source_folder/ host:~/path/to/source_folder/
In that case, you should imagine that there is also a * wildcard character which copies all files in that directory.
The data transfer node
A dedicated node, separate from the login nodes, can be used for file transfers. The hostname is dtn.marcc.jhu.edu.
Overwriting data
Be careful when copying data to a new machine, since it will overwrite existing data.